
Digitising Slides
Some time ago my wife came home from a visit with her parents with a box containing all the slides her dad had shot during the late 50s, the 60s and the 70s until he switched from slide to negative film.
I’m going to present my solution to digitise a sizeable amount of slides in a reasonable amount of time in this post.
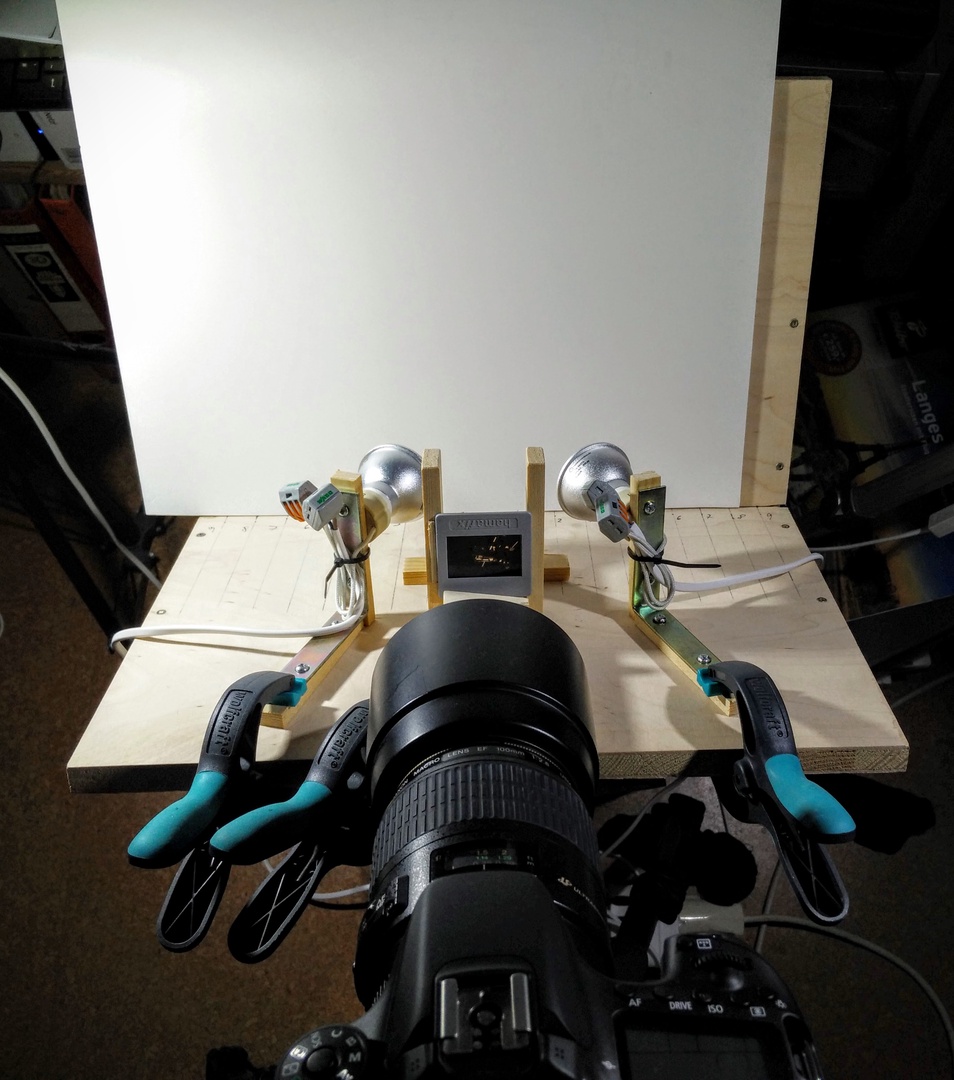
Once again I used the same contraption, I used to digitise my cookbooks. (Read more about it here). This time, my Canon 70D had been combined with the Canon 100mm f2.8 macro lens. The camera is mounted on a tripod and the Canon RC1 infrared remote control triggers the shutter. The focusing system is set to live mode.
White foam-board provides the reflective surface to light the slide from the backside. I intended to use milk glass for diffusion and shine the LED light directly through the milk glass on the slide. But an appropriate small piece of milk glass is hard to come by. It’s sold only in larger pieces. Thus, I settled for this reflective solution.
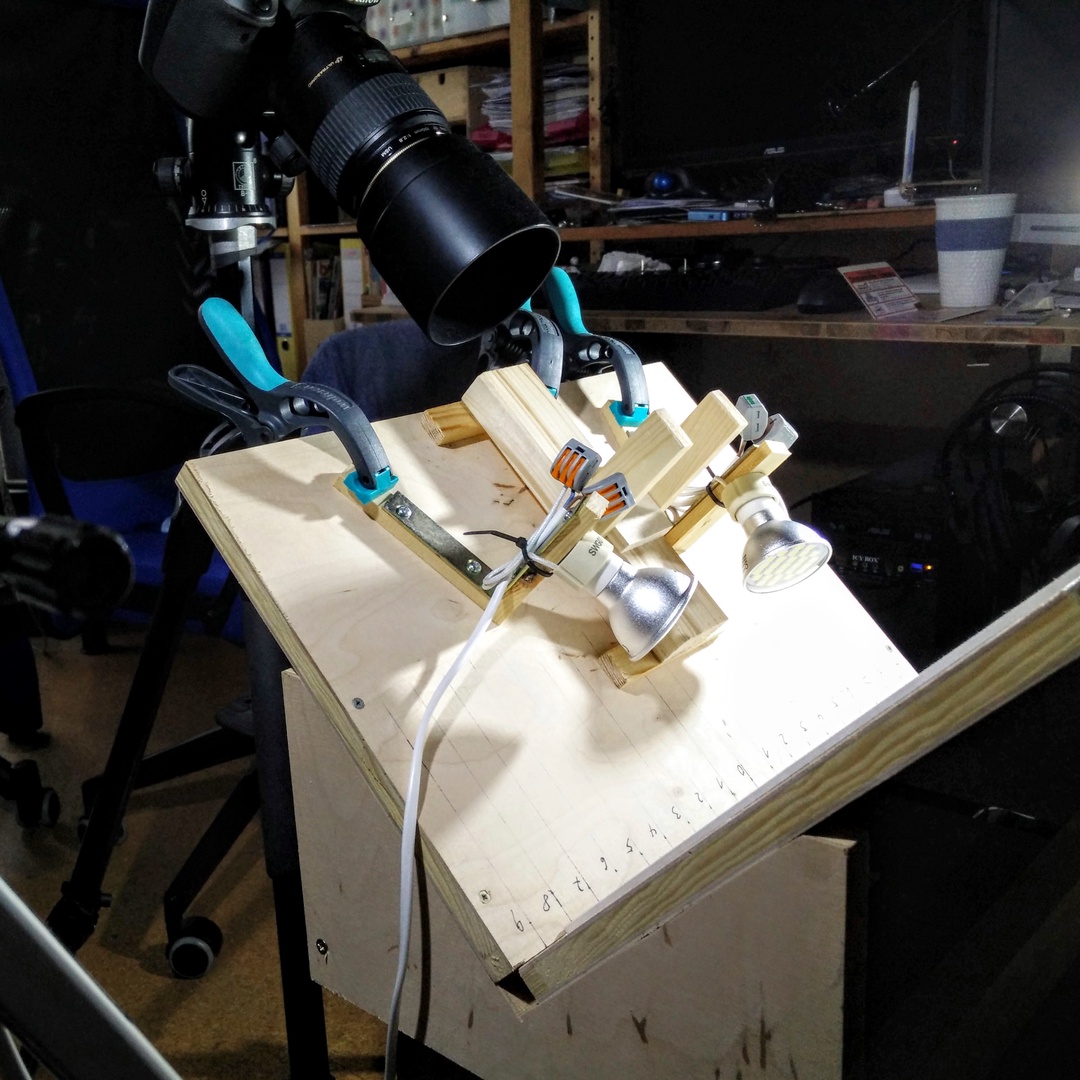
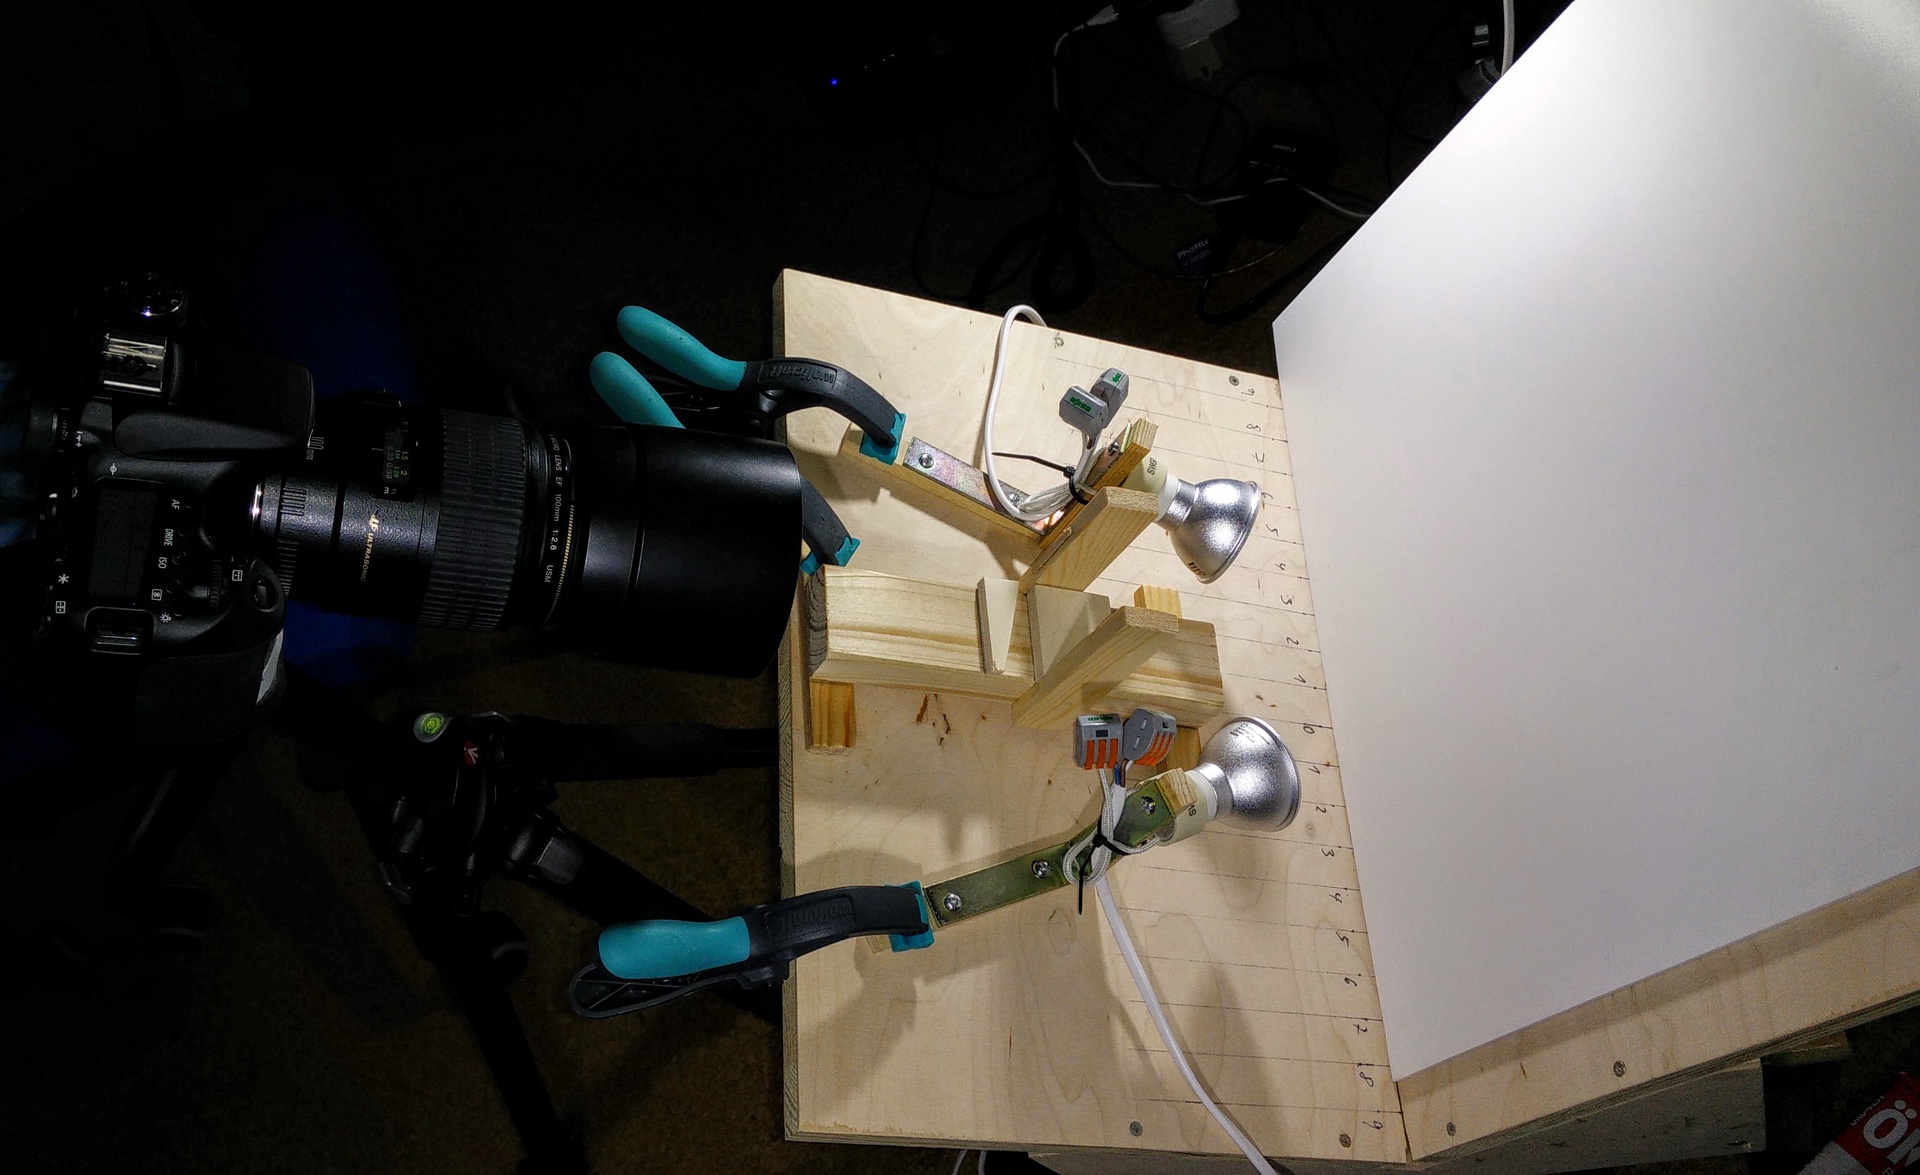
Here are two alternative views of the setup.
The two 5 watt LED lights provide enough light to achieve a shutter speed of 1/50s with an aperture of 5.6. To photograph a slide magazine containing 36 slides took about 10 minutes. Before actually taking the photos, I went through the whole slide set to clean each individual slide with a micro fibre cloth. In particular, slides mounted in glass frames were slightly fogged up over the years. And in addition, there is the time to post-process the pictures. In general, what I wrote about digitising my cookbooks about post-processing applies here as well. I would estimate, that it took a maximum of ½ hour for a 36 exposures slide film.
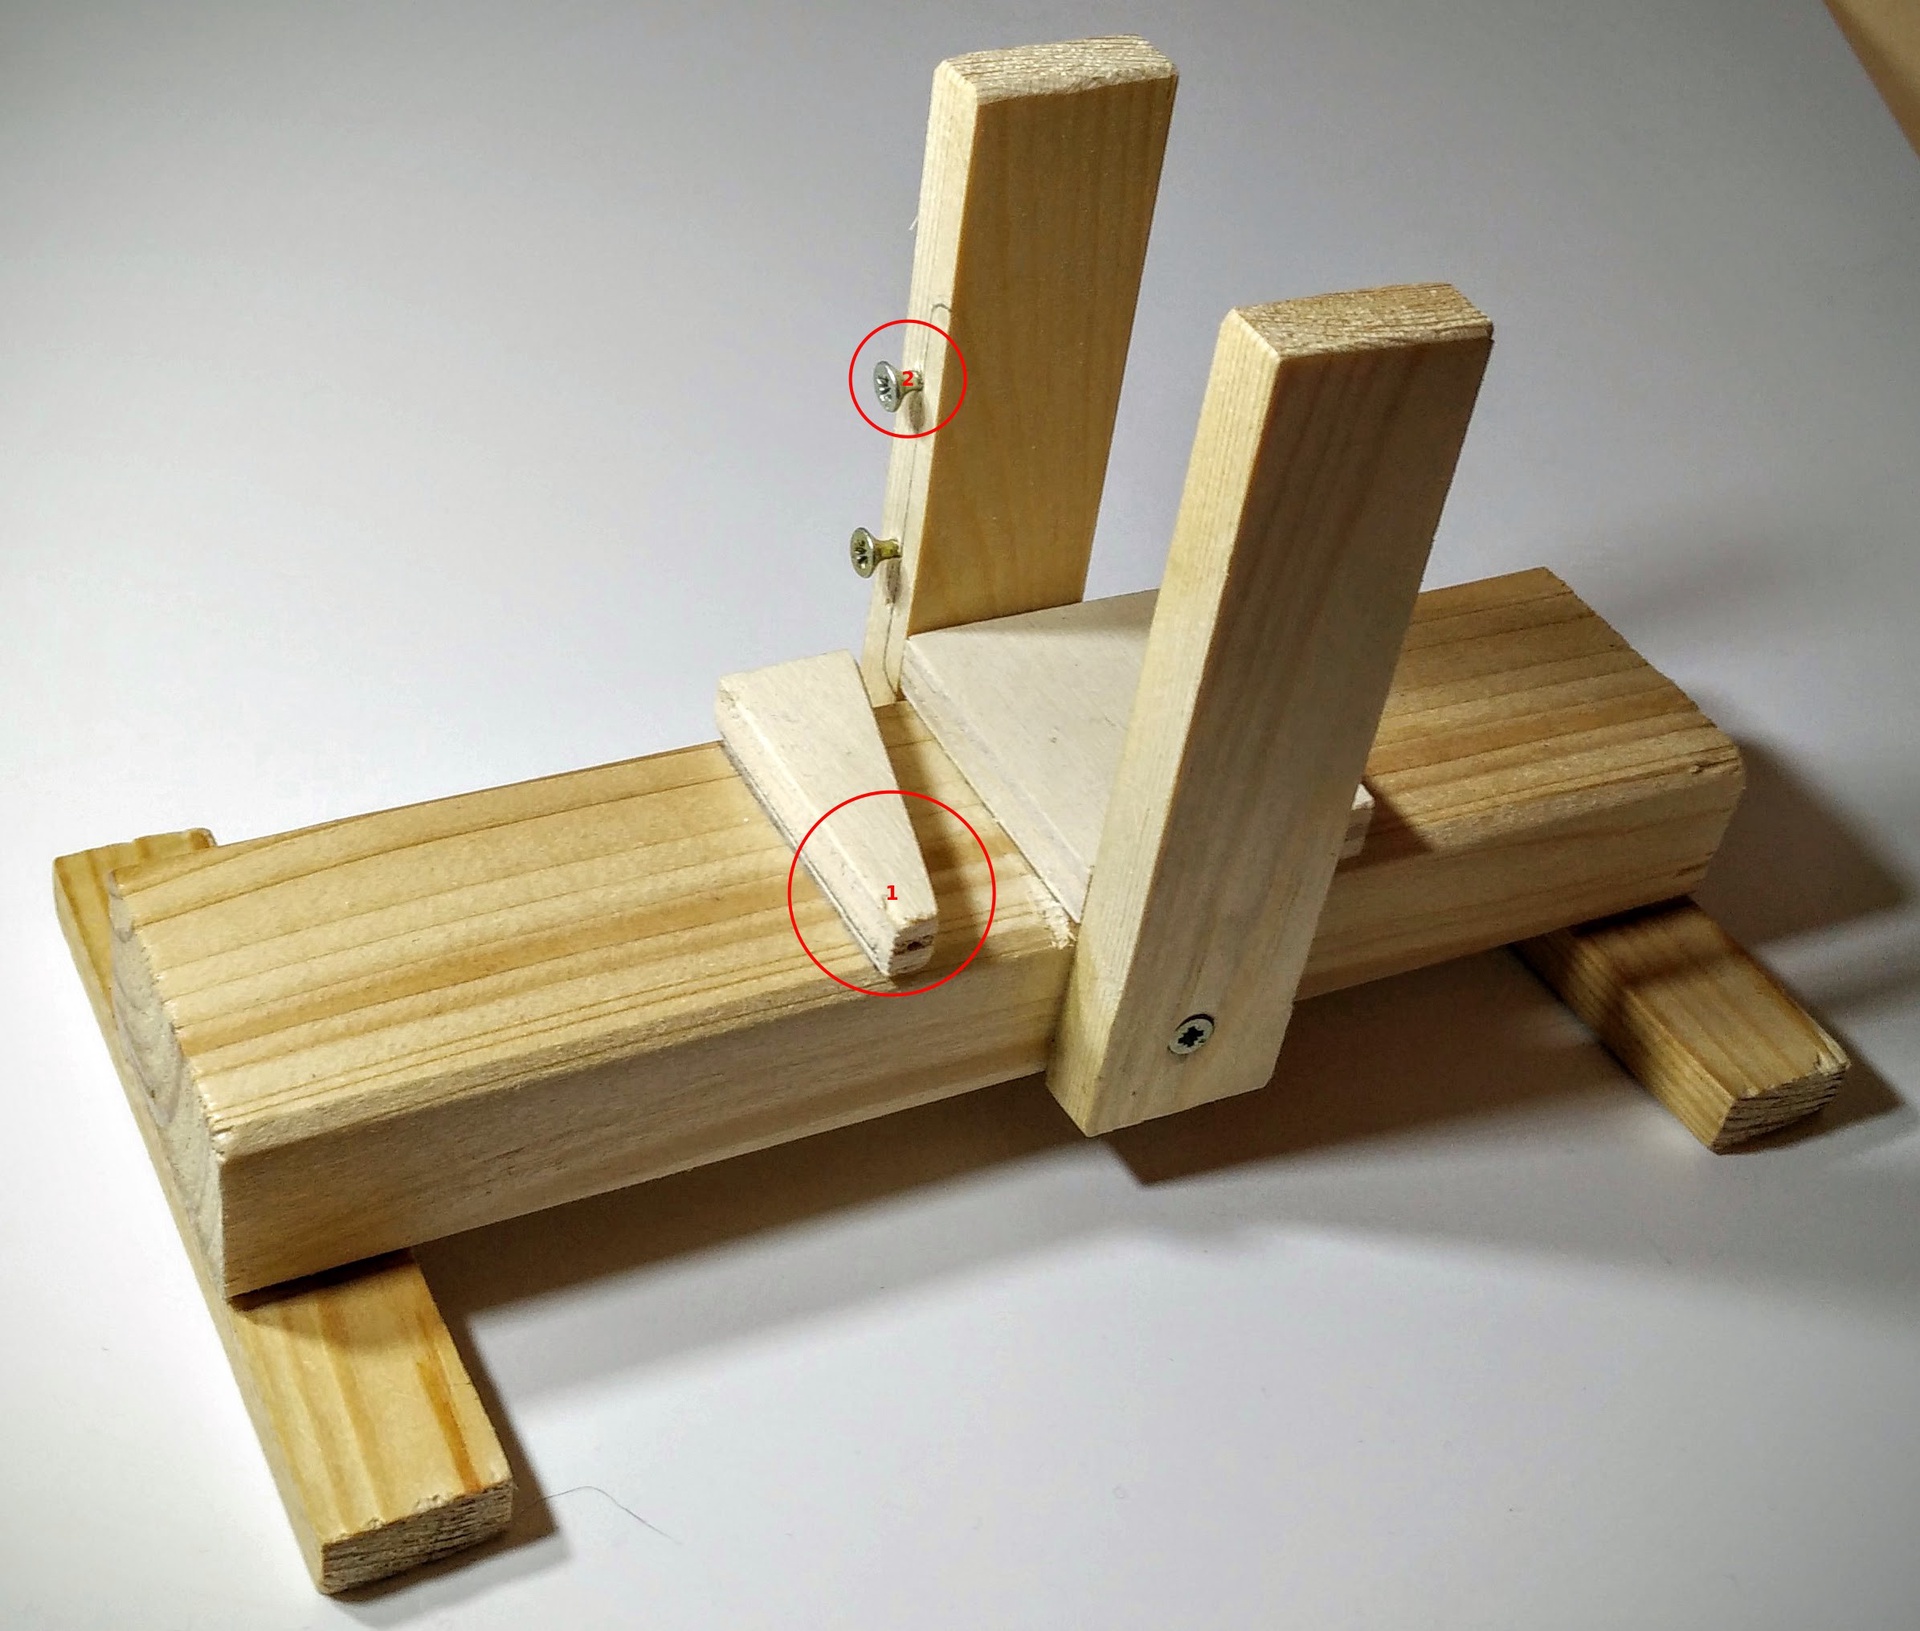
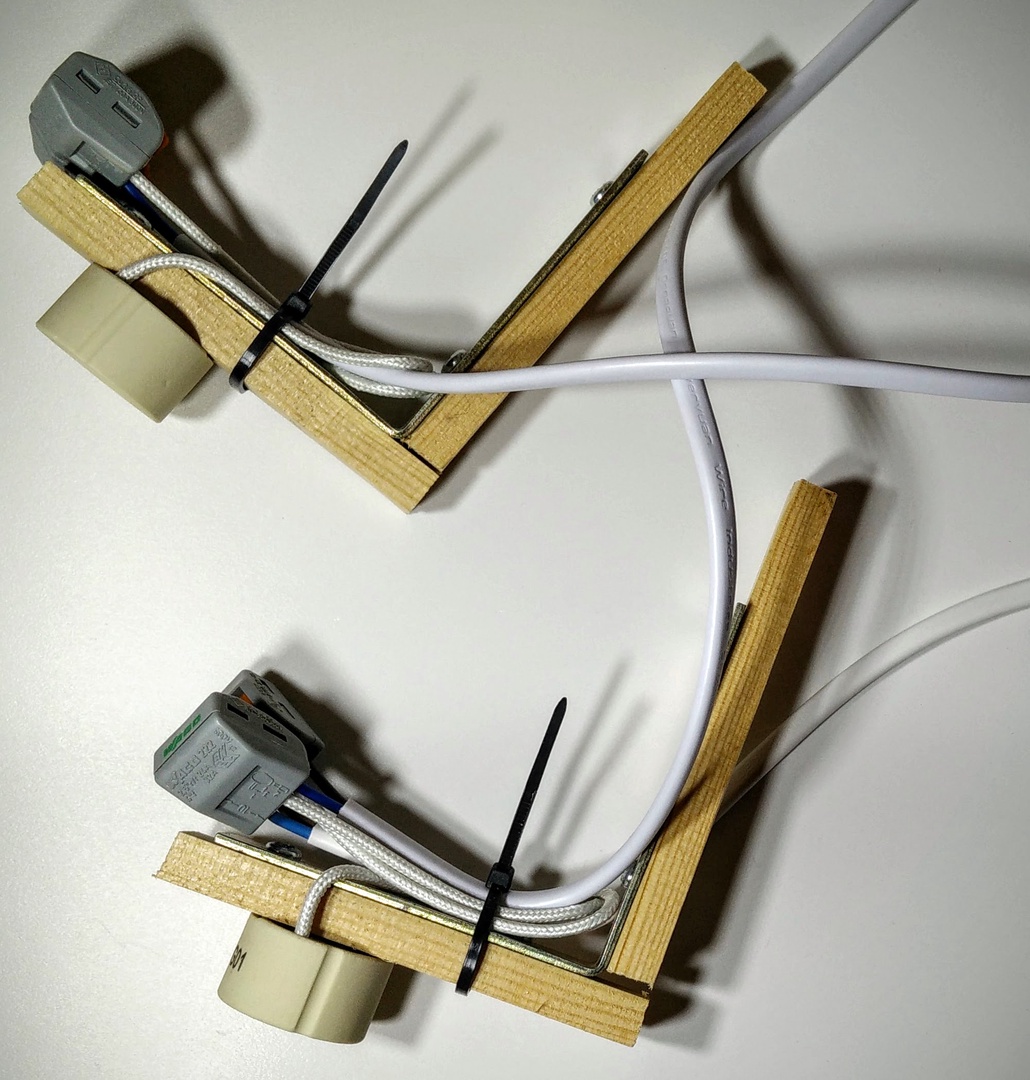
Here are two detail shots of the slide holder and the two lamp holders. I had planned to put the slide holder simply on a table and keep the slide in place by pushing a wedge into the space marked with the red “1”. Positioning the slide holder at a 45° angle obsoletes the second wedge. And with the two screws marked in the picture with the red “2” an individual slide moves nicely into place. I got a pretty reliable positioning for each slide. All this was created with leftover material from the basement.
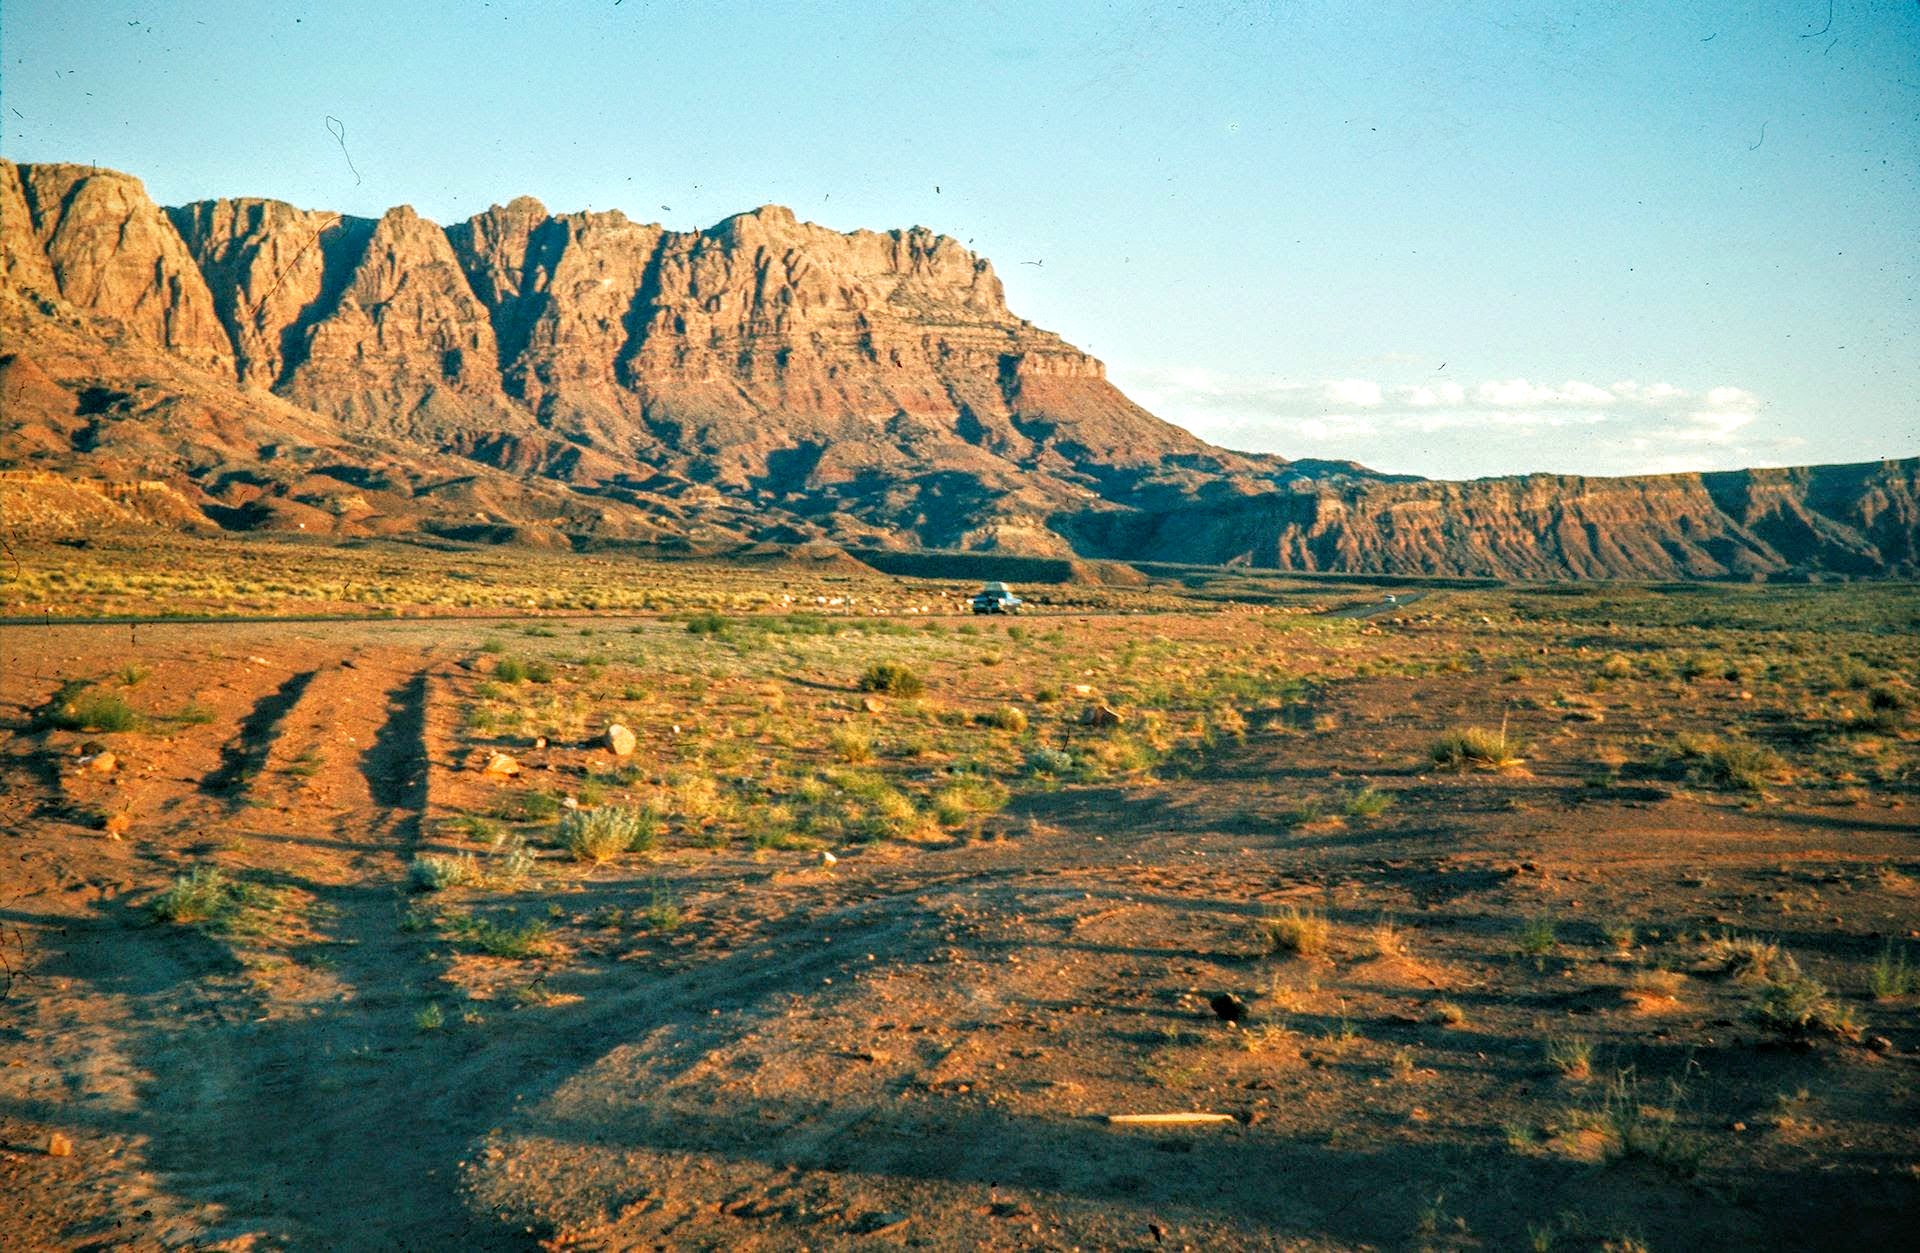

And finally here are two random sample pictures scaled down to 1920px on the longest side. These are from a USA trip the parents of my wife did some time in the 60s. Unfortunately, there is still a bit of dust visible even though each frame had been cleaned. Some of the dust might even be from the 60s when it was enclosed between the glass plates when framing the slides.